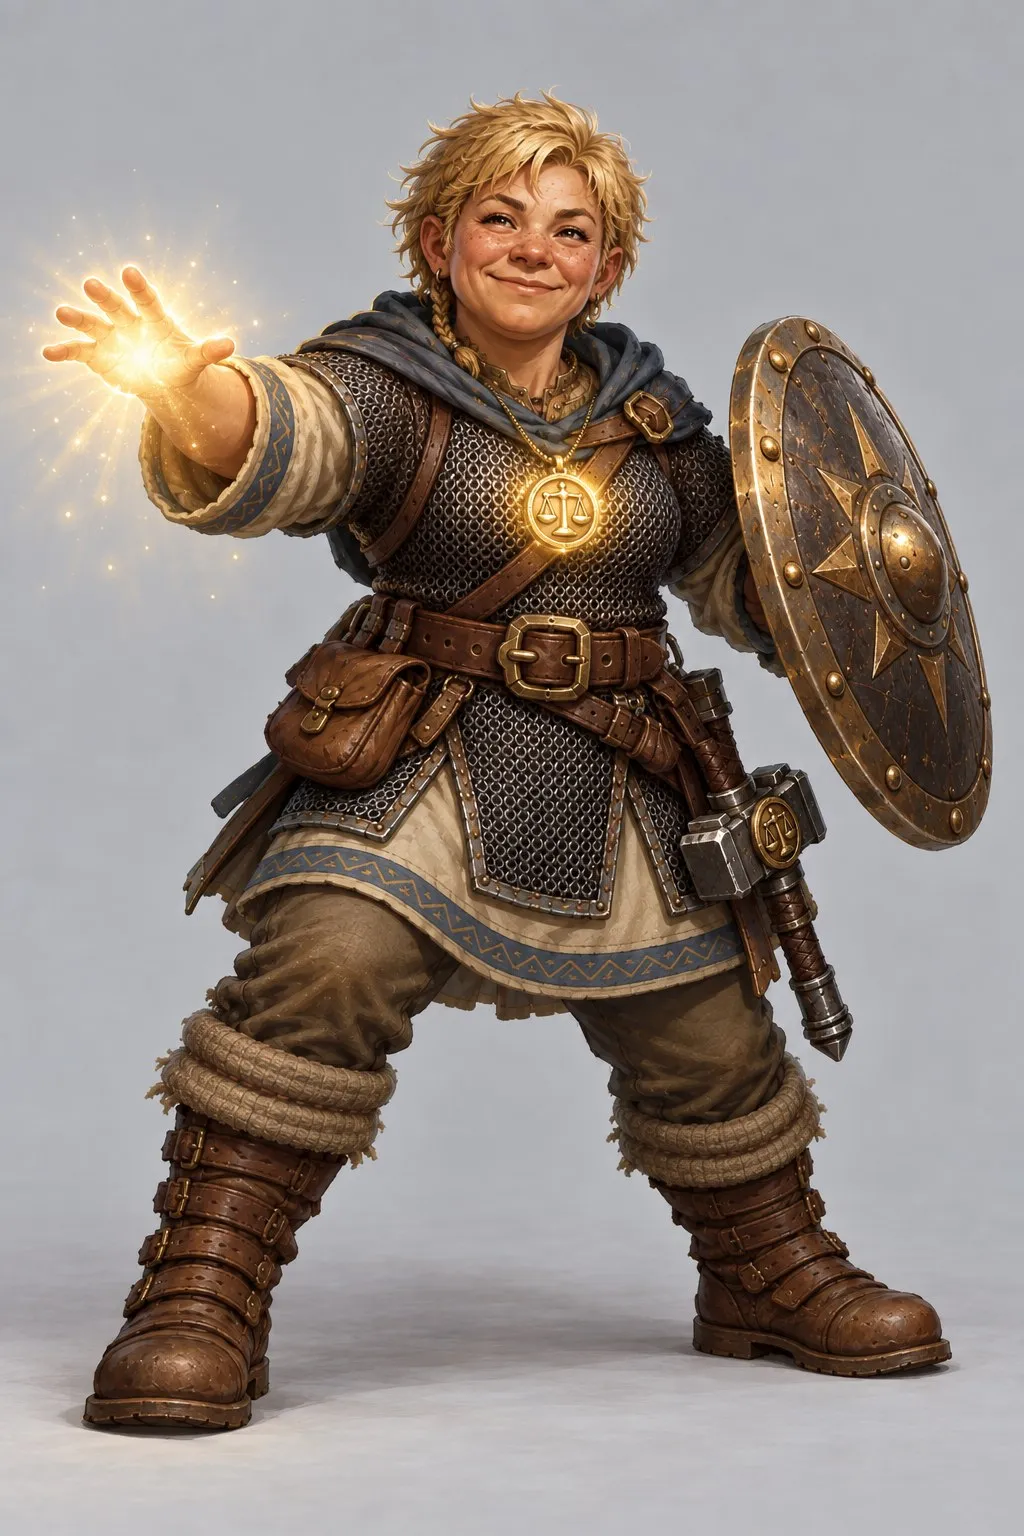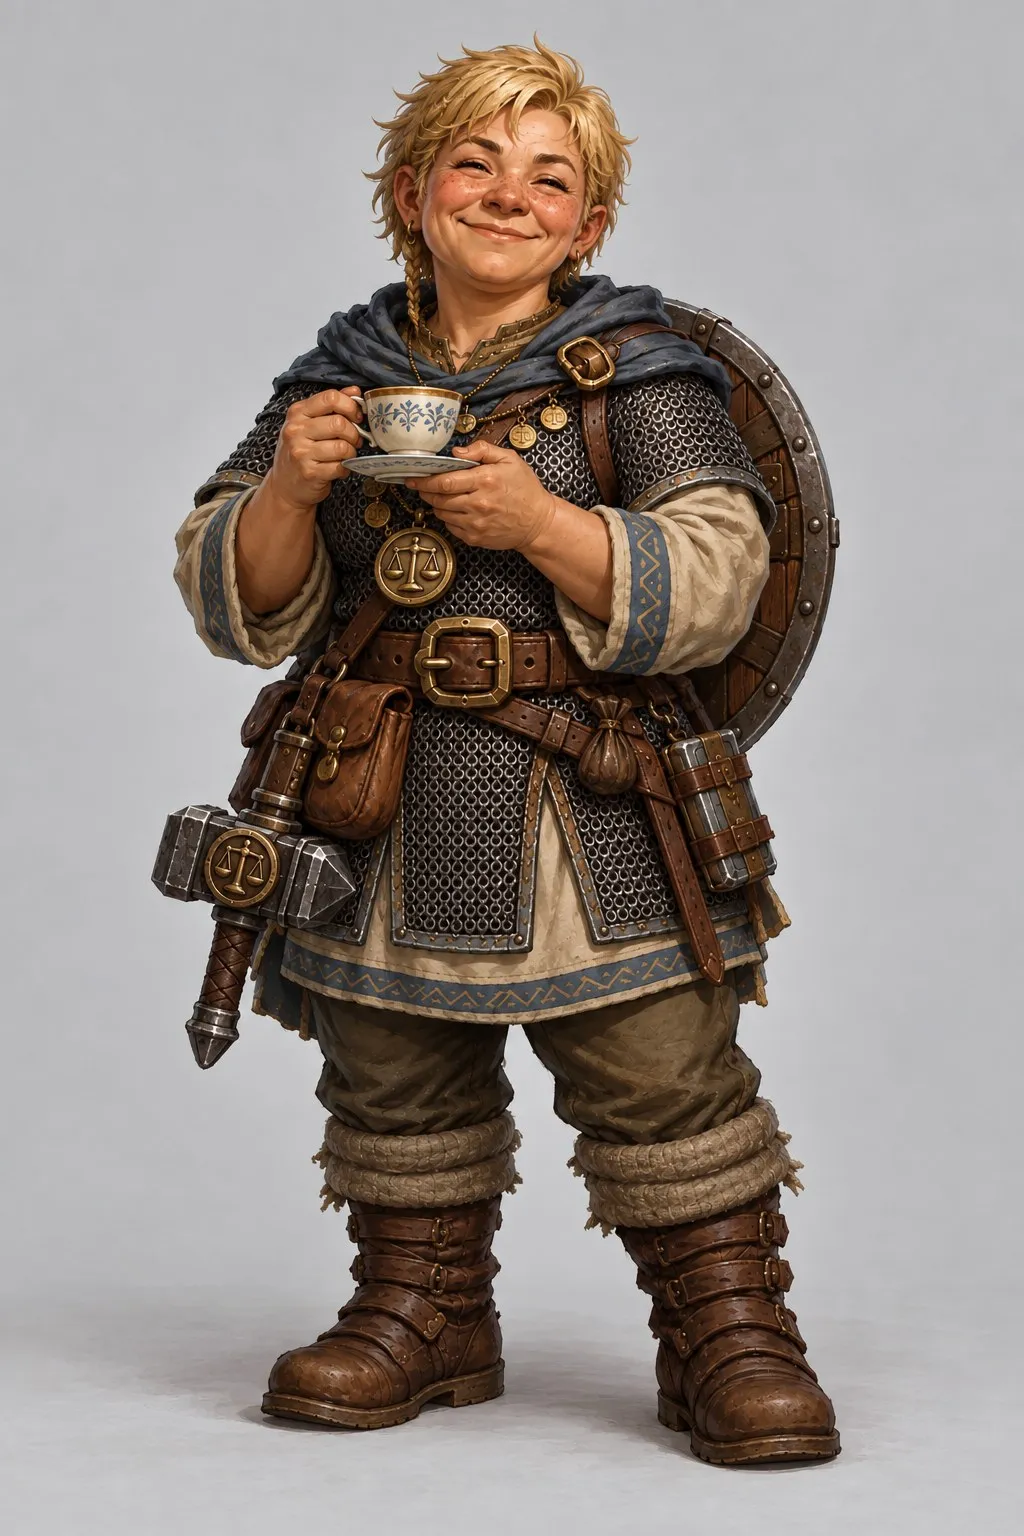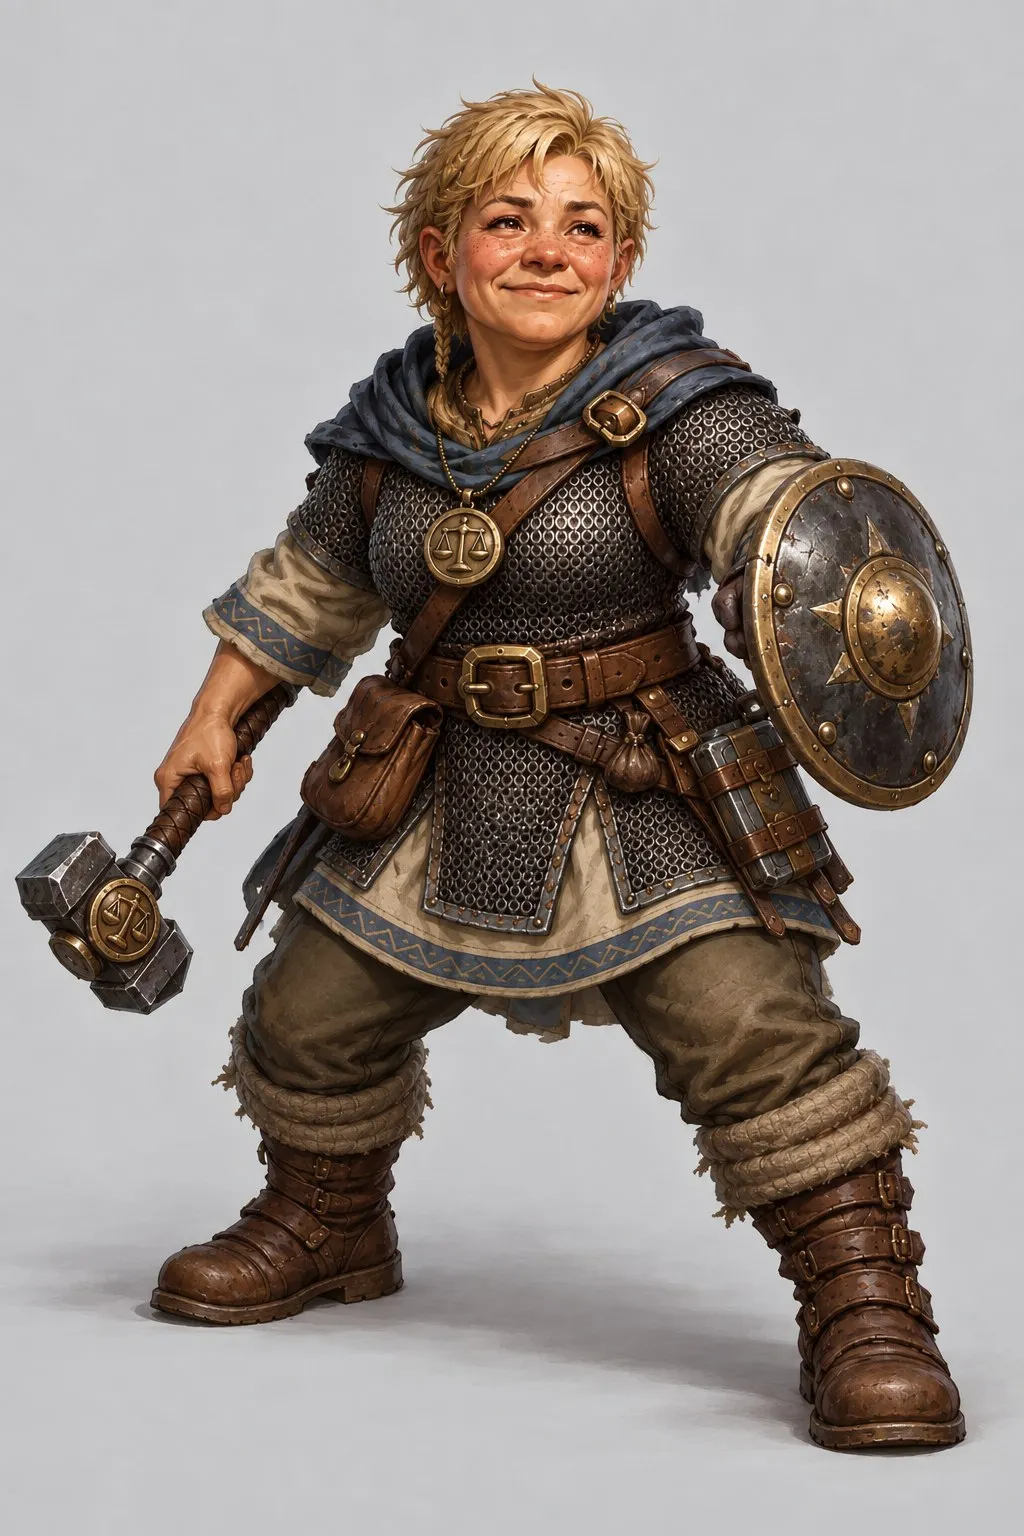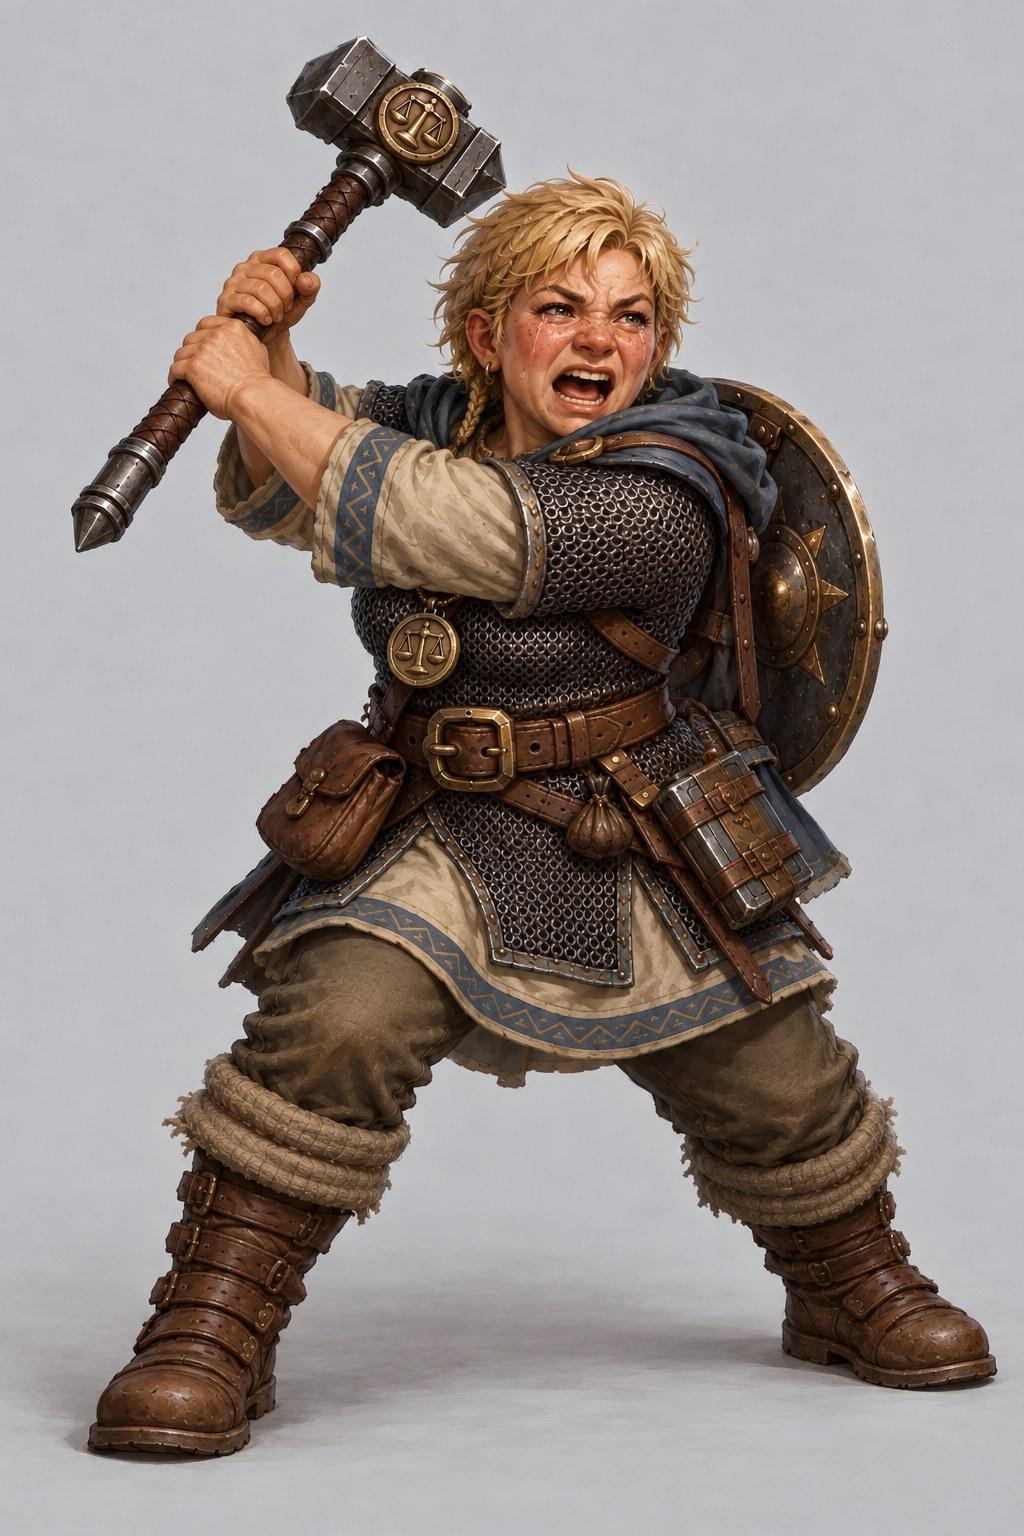
Start with a character image, end with something you can hold.
The test case
Dorra is a dwarf life cleric from our D&D table. I generated a set of concept poses for her (swinging the hammer, casting bless, holding a teacup) and I’m taking each one through the whole pipeline. Some are printed. Others are still in design.
Stages
- Concept. Generate the character until the silhouette reads well and the pose is clear.
- Mesh. Run the image through Hitem3D to get a 3D model.
- Cleanup. Fix it in Blender: make it watertight, thicken anything too thin to print, set the pose and the base.
- Slice. Set up supports with Printfins, then print on a 0.2 mm nozzle at 0.08 mm layers so the face and chainmail survive.
On Hitem3D
I started out skeptical of paying for an image-to-3D service. I’m now on a paid plan and keeping it. It gets me a usable starting mesh far faster than anything else I’ve tried, and that leaves my time for the parts that need a person: posing, cleanup and supports.
Step three is still where the weekend goes.